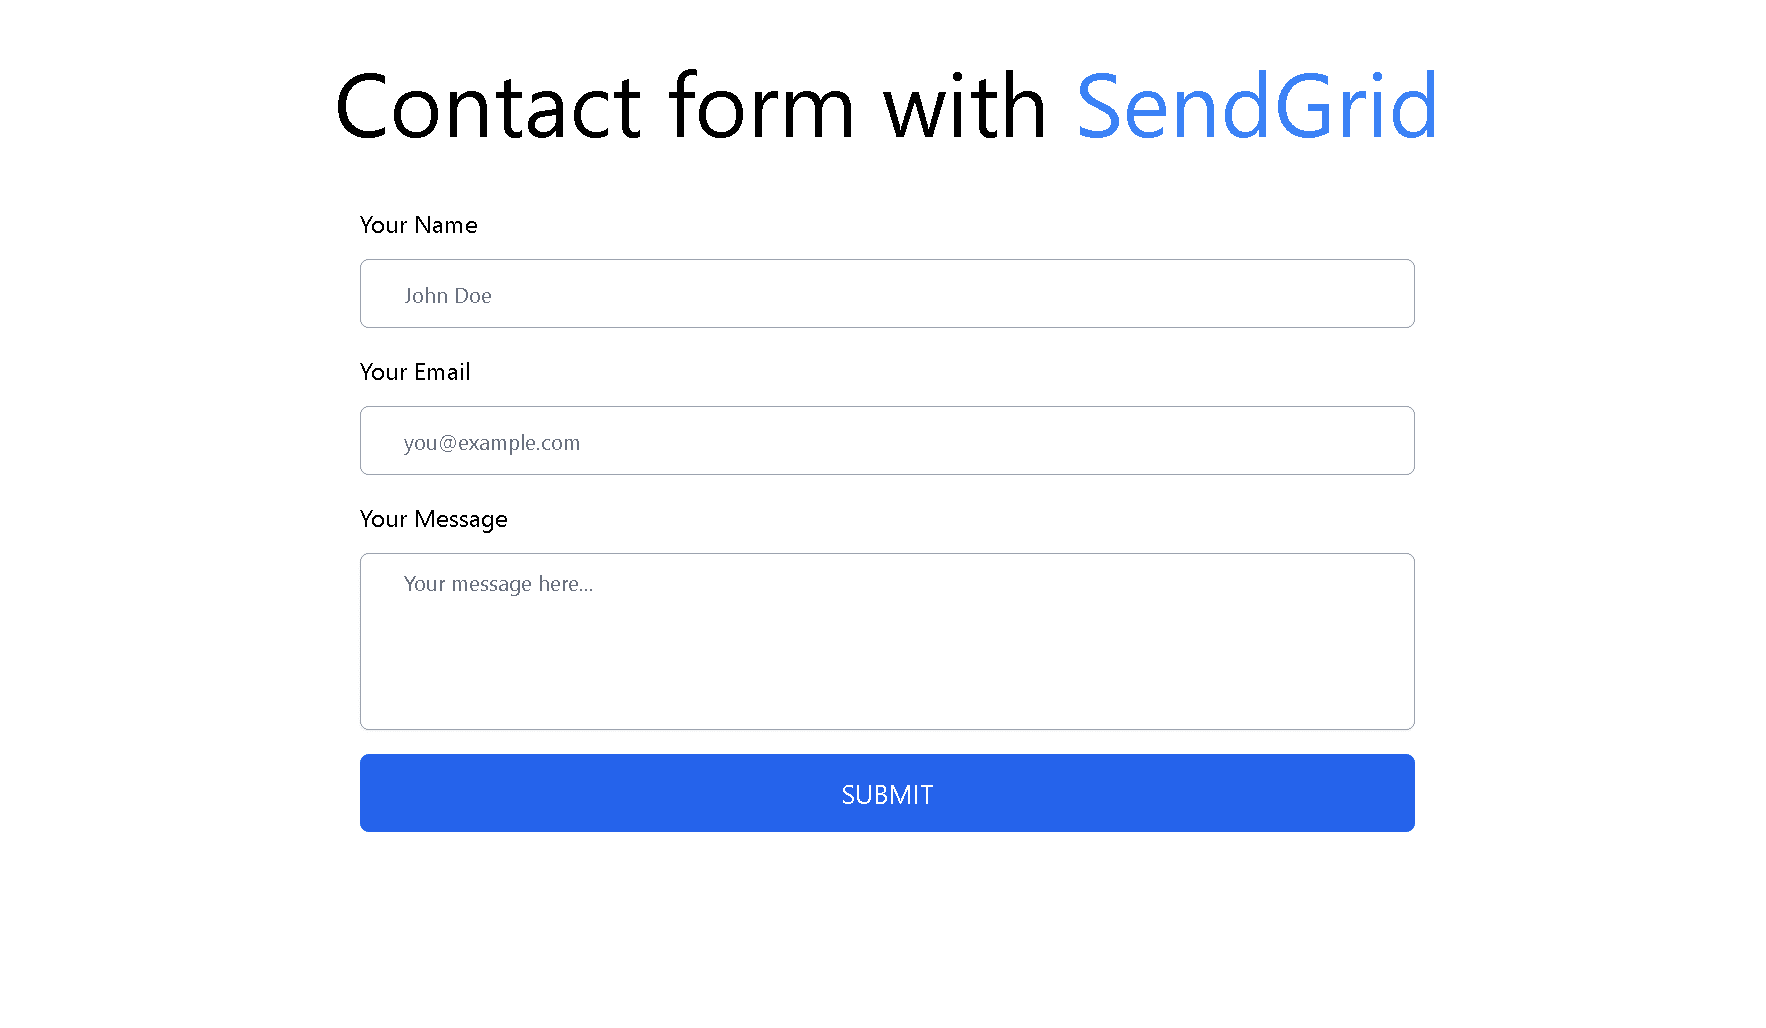
You can use SendGrid to create a contact form in Nextjs.
SendGrid is an email service that offers an API to send and receive emails.
To set up SendGrid, you first need to create an account on their website. Once the account is created, we will need to configure the SendGrid API in your Nextjs application.
First, we are going to create the components that we will need for the form, and we are also going to validate the inputs of the inputs.
Step 1 — Create input validations
This code is a function that takes in three parameters, name, email, and message. It then checks to see if there are any errors with these fields. If there are, it will return an error message.
The function starts by creating an empty object, errors. It then checks if the name field is empty or if it only contains whitespace characters. If so, it will add an error message to the errors object.
It then does the same for the email and message fields. However, the email field also checks if the email is in a valid format. If it is not, it will add an error message to the errors object.
Finally, the function returns the errors object.
Open validate.ts and add the following code.
// utils/validate.ts
export const validate = ({
  name,
  email,
  message,
}: {
  name: string;
  email: string;
  message: string;
}) => {
  const errors: { name?: string; email?: string; message?: string } = {};
  if (!name || name.trim() === "") {
    errors.name = "Name is required";
  }
  if (!email || email.trim() === "") {
    errors.email = "Email is required";
  } else if (!/^[A-Z0-9._%+-]+@[A-Z0-9.-]+\.[A-Z]{2,4}$/i.test(email)) {
    errors.email = "Invalid email address";
  }
  if (!message || message.trim() === "") {
    errors.message = "Message is required";
  }
  return errors;
};
Step 2 — Create the Input component.
This code defines an interface for an input element, which includes the id, name, label, and placeholder attributes, as well as an error flag and error message. The Input component renders a div with a label, input element, and optional error message. The ...props spread operator allows additional attributes to be passed to the input element.
Open Input.tsx and add the following code.
// components/contactForm/Input.tsx
interface InputProps extends React.InputHTMLAttributes<HTMLInputElement> {
  id: string;
  name: string;
  label: string;
  placeholder: string;
  error?: boolean;
  errorMessage?: string;
}
const Input = ({
  id,
  name,
  label,
  placeholder,
  error = false,
  errorMessage = "",
  ...props
}: InputProps) => {
  return (
    <div className="mt-4 block">
      <label className="mb-3 block" htmlFor={id}>
        {label}
      </label>
      <input
        {...props}
        type="text"
        id={id}
        name={name}
        placeholder={placeholder}
        className="block w-full rounded-md border-gray-400 py-3 pl-7 pr-12 focus:border-gray-500 sm:text-sm"
      />
      {error && <p className="mt-2 text-sm text-pink-600">*{errorMessage}</p>}
    </div>
  );
};
export default Input;
Step 3 — Create the Text Area component.
This code defines a functional component for a text area input element. The component accepts various props, including an id, name, label, placeholder, type, error, and errorMessage prop. The component renders a div element with a label and a textArea element. If the error prop is true, then a p element with an error message is rendered.
Open TextArea.tsx and add the following code.
// components/contactForm/TextArea.tsx
interface TextAreaProps extends React.InputHTMLAttributes<HTMLTextAreaElement> {
  id: string;
  name: string;
  label: string;
  placeholder: string;
  type?: string;
  error?: boolean;
  errorMessage?: string;
}
const TextArea = ({
  id,
  name,
  label,
  placeholder,
  error,
  errorMessage,
  ...props
}: TextAreaProps) => {
  return (
    <div className="mt-4 block">
      <label className="mb-3 block" htmlFor={id}>
        {label}
      </label>
      <textarea
        {...props}
        id={id}
        name={name}
        rows={5}
        placeholder={placeholder}
        className="block w-full resize-none rounded-md border border-gray-400 pl-7 pr-12 shadow-sm focus:border-gray-500 sm:text-sm"
      ></textarea>
      {error && <p className="mt-2 text-sm text-pink-600">*{errorMessage}</p>}
    </div>
  );
};
export default TextArea;
Step 4 — Create API mail.
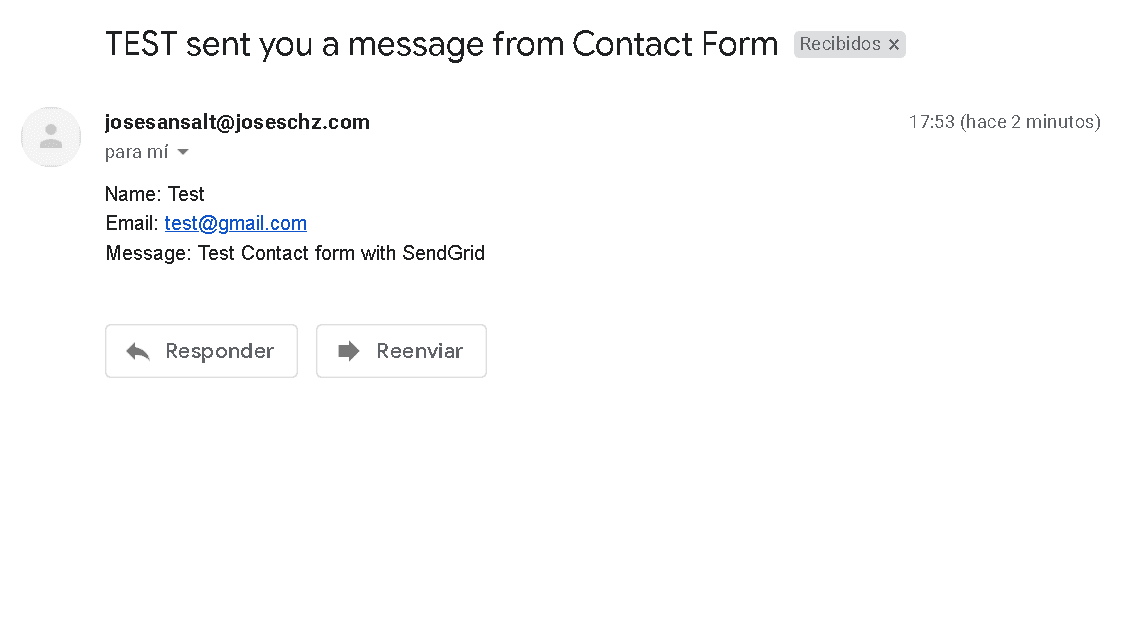
This code is a handler for an API request. It checks the request method, and if it is a POST request, it gets the name, email, and message from the request body. It then creates a new message with this information and sends it using the SendGrid API. If there is an error, it returns a status code of 500 and a JSON object with an error message.
Inside pages/api folder, we create mail.ts and add the following code.
// pages/api/mail.ts
import type { NextApiRequest, NextApiResponse } from "next";
const sgMail = require("@sendgrid/mail");
sgMail.setApiKey(process.env.SENDGRID_API_KEY);
type Data = {
  message: string;
};
export default async function handler(
  req: NextApiRequest,
  res: NextApiResponse<Data>
) {
  if (req.method === "POST") {
    const {
      name,
      email,
      message,
    }: { name: string; email: string; message: string } = req.body;
    const msg = `Name: ${name}\r\n Email: ${email}\r\n Message: ${message}`;
    const data = {
      to: "youremail@gmail.com",
      from: "yoursendgridemail@test.com",
      subject: `${name.toUpperCase()} sent you a message from Contact Form`,
      text: `Email => ${email}`,
      html: msg.replace(/\r\n/g, "<br>"),
    };
    try {
      await sgMail.send(data);
      res.status(200).json({ message: "Your message was sent successfully." });
    } catch (err) {
      res
        .status(500)
        .json({ message: `There was an error sending your message. ${err}` });
    }
  }
}
Step 5 — Add to Environment
Create a file named .env at the root of your project. And add the following code there. This can also be done directly into the code, but environment variables are better.
SENDGRID_API_KEY=”YOUR API KEY HERE”
Step 6 — Create the Form component.
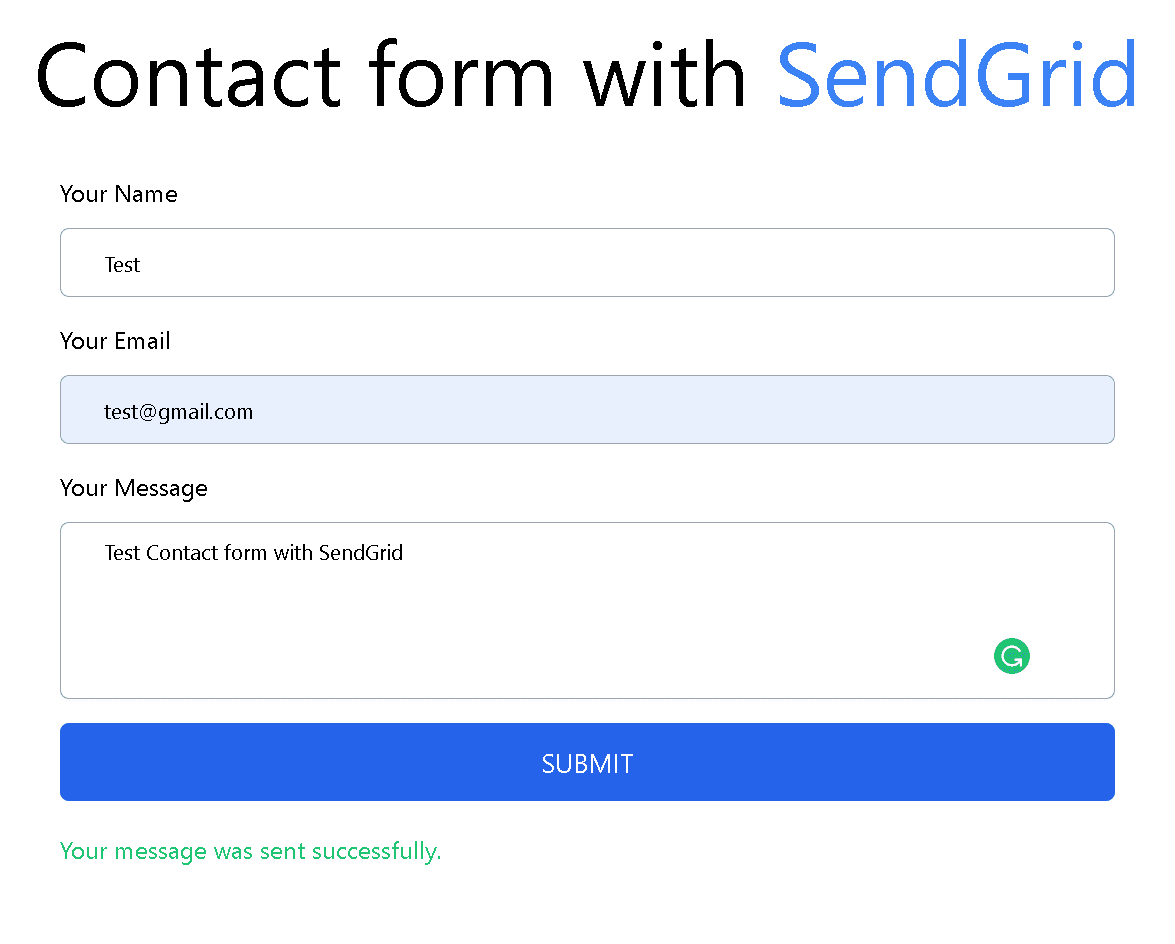
This code is a form that uses the React Hooks useState and useEffect. It also uses the Axios library to make a POST request to an API. The form has inputs for name, email, and message. When the form is submitted, the data from the inputs is sent to the API. If the API returns a success status, the form is reset, and a success message is displayed. If the API returns an error, the form is not reset, and an error message is displayed.
// components/contactForm/Form.tsx
import axios from "axios";
import { useState } from "react";
import { RiLoader5Fill } from "react-icons/ri";
import { validate } from "../../utils/validate";
import Input from "./Input";
import TextArea from "./TextArea";
interface IValues {
  name: string;
  email: string;
  message: string;
}
interface IErrors extends Partial<IValues> {}
export const Form = () => {
  const [values, setValues] = useState({
    name: "",
    email: "",
    message: "",
  });
  const [errors, setErrors] = useState<IErrors>({});
  const [loading, setLoading] = useState(false);
  const [success, setSuccess] = useState(false);
  const [messageState, setMessageState] = useState("");
  const handleSubmit = async (e: React.FormEvent<HTMLFormElement>) => {
    e.preventDefault();
    const errors = validate(values);
    if (errors && Object.keys(errors).length > 0) {
      return setErrors(errors);
    }
    setErrors({});
    setLoading(true);
    axios
      .post("/api/mail", {
        name: values.name,
        email: values.email,
        message: values.message,
      })
      .then((res) => {
        if (res.status === 200) {
          setValues({ name: "", email: "", message: "" });
          setLoading(false);
          setSuccess(true);
          setMessageState(res.data.message);
        } else {
          setLoading(false);
          setMessageState(res.data.message);
        }
      })
      .catch((err) => {
        setLoading(false);
        setMessageState(String(err.message));
      });
    setLoading(false);
  };
  const handleChange = (
    e:
      | React.ChangeEvent<HTMLInputElement>
      | React.ChangeEvent<HTMLTextAreaElement>
  ) => {
    setValues((prevInput) => ({
      ...prevInput,
      [e.target.name]: e.target.value,
    }));
  };
  return (
    <form onSubmit={handleSubmit}>
      <Input
        value={values.name}
        onChange={handleChange}
        id="name"
        name="name"
        label="Your Name"
        placeholder="John Doe"
        error={!!errors.name}
        errorMessage={!!errors.name ? errors.name : ""}
      />
      <Input
        value={values.email}
        onChange={handleChange}
        id="email"
        name="email"
        label="Your Email"
        placeholder="you@example.com"
        error={!!errors.email}
        errorMessage={!!errors.email ? errors.email : ""}
      />
      <TextArea
        value={values.message}
        onChange={handleChange}
        id="message"
        name="message"
        label="Your Message"
        placeholder="Your message here..."
        error={!!errors.message}
        errorMessage={!!errors.message ? errors.message : ""}
      />
      <button
        className="mt-4 w-full rounded-md bg-blue-600 py-3 px-5 text-lg text-white outline-none hover:bg-blue-800 disabled:cursor-not-allowed disabled:bg-opacity-60"
        type="submit"
        disabled={loading}
      >
        {loading !== true ? (
          "SUBMIT"
        ) : (
          <div className="flex h-full w-full items-center justify-center ">
            <RiLoader5Fill className="h-8 w-8 animate-spin" />
          </div>
        )}
      </button>
      <p className="mt-5 text-green-500 dark:text-green-500">
        {success !== false ? (
          messageState
        ) : (
          <span className="text-red-500 dark:text-red-500">{messageState}</span>
        )}
      </p>
    </form>
  );
};
Step 7 — Call the Form component on our index.
Finally, we call the Form component to our index page
// pages/index.tsx
import type { NextPage } from "next";
import Head from "next/head";
import { Form } from "../components";
const Home: NextPage = () => {
  return (
    <div>
      <Head>
        <title>Contact form with Sendgrid</title>
        <meta name="description" content="Generated by create next app" />
        <link rel="icon" href="/favicon.ico" />
      </Head>
      <main className="h-screen">
        <h1 className="text-6xl text-center my-10">
          Contact form with <span className="text-blue-500">SendGrid</span>
        </h1>
        <div className="container mx-auto my-10 max-w-7xl cpx-4 sm:px-6 lg:px-60">
          <Form />
        </div>
      </main>
    </div>
  );
};
export default Home;
Step 8 — We test that everything works.


GitHub repo:
SALT0S/nextjs-sendgrid-form: NextJS + SendGrid Form Contact (github.com)

